Controls
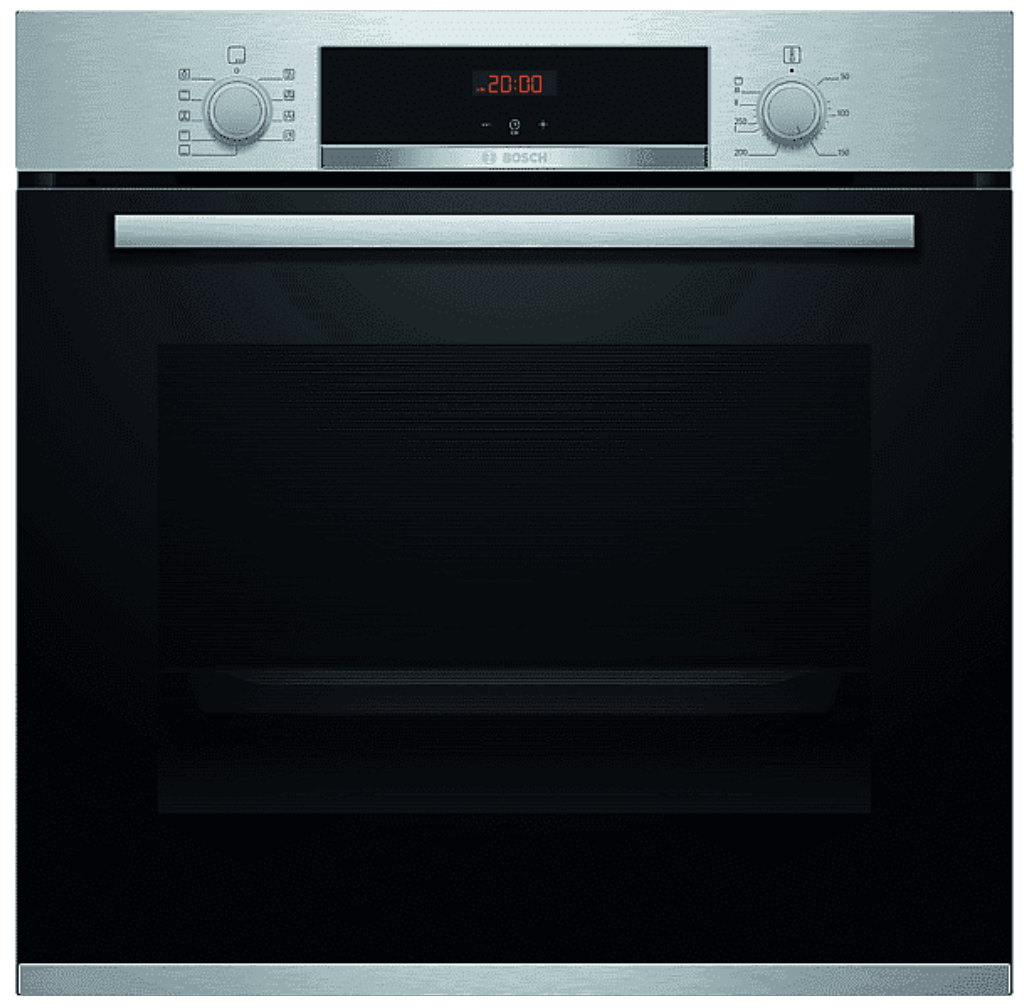
You can use the control panel to configure all functions of your appliance and to obtain information about the operating status.
Note: On certain models, specific details such as colour and shape may differ from those pictured.
- Buttons and display
The buttons are touch-sensitive surfaces. To select a function, simply press lightly on the relevant field.
The display shows symbols for active functions and the time-setting options. -
Function selector
Use the function selector to set the types of heating and other functions.
You can turn the function selector clockwise or anti-clockwise from the zero setting.
Depending on the appliance, the function selector can be pushed in. Press on the function selector to click it into or out of the zero setting. -
Temperature selector
Use the temperature selector to set the temperature for the type of heating and select settings for other functions.
You can only turn the temperature selector clockwise from the zero settinguntil it offers resistance. You cannot turn it any further than this.
Depending on the appliance, the temperature selector can be pushed in. Press on the temperature selector to click it into or out of the zero setting
Buttons and display
You can use the buttons to set various functions for your appliance. The display shows the settings.
|
Symbol |
Function |
Use |
|---|---|---|
 |
Time-setting options |
Select the timer To select the individual time-setting options, press the |
|
|
Minus Plus |
Decrease the setting values. Increase the setting values. |
 |
Childproof lock |
Activate or deactivate the childproof lock. |
Types of heating and functions
To ensure that you always use the right type of heating to cook your food, we have explained the differences and applications below.
|
Symbol |
Type of heating |
What it’s used for/how it works |
|---|---|---|
 |
3D hot air |
Bake and roast on one or more levels. The fan distributes the heat from the ring-shaped heating element in the back wall evenly around the cooking compartment. |
 |
Gentle hot air |
Cook selected dishes gently on one level without preheating. The fan distributes the heat from the ring-shaped heating element in the back wall evenly around the cooking compartment. The food is cooked in phases using residual heat. Select a temperature of between 120 °C and 230 °C. Always keep the appliance door closed when cooking. This type of heating is used to determine the energy consumption in air recirculation mode and the energy efficiency class. |
 |
Pizza setting |
Cook pizza or dishes that require a lot of heat from below. The bottom heating element and the ring-shaped heating element in the back wall heat the cooking compartment. |
 |
Bottom heating |
Final baking or cooking food in a bain marie. Heat is emitted from below. |
 |
Full-surface grill |
Grill flat items such as steak and sausages, or make toast. Gratinate food. The entire area underneath the grill element becomes hot. |
 |
Hot air grilling |
Roast poultry, whole fish and larger pieces of meat. The grill element and the fan switch on and off alternately. The fan circulates the hot air around the food. |
 |
Top/bottom heating |
Traditionally bake or roast on one level. This type of heating is ideal for cakes with moist toppings. The heat is emitted evenly from above and below. This type of heating is used to measure the energy consumption in the conventional mode. |
Basic handling
The essential guidelines for handling the device are explained below.
Switch the hob on and off
The hob is switched on and off with the main switch.
If the appliance is switched on again within the first 4 seconds after it has been switched off, the hob switches on with the previous settings.
Switch on the hob
-
Press
.
-
The indicator light located above comes on
.
-
The indicators
light up.
-
The hob is ready for operation.
Switch off the hob
The hob turns off automatically when all the cooking zones remain off for a period of time (10-60 seconds).
-
Press
.
-
The indicator light located above turns off
.
-
The indicators turn off.
-
All cooking zones are switched off.
-
The residual heat indicator will continue to light until the cooking zones have cooled down sufficiently.
Adjust cooking zones
To be able to adjust a cooking zone, it must be selected.
Adjust the desired power level in the programming area.
>
|
power level |
|
|---|---|
|
1 |
lower power |
|
9 |
higher power |
|
. |
Each power level has an intermediate level, e.g. eg, 4. . |
Adjust power levels
Requirement:
-
Select the cooking zone with
.
-
On the power level indicator lights up
.
-
-
Within 10 seconds press
or
.
The basic setting is shown.
-
power level 9
-
power level 4
-
Change power levels
-
Select the cooking zone with
.
-
Press
or
until the desired power level appears.
Turn off the cooking zone
The cooking zone can be turned off in 2 ways.
-
Press 2 times
.
-
appears on the power level indicator
.
-
After 10 seconds the residual heat indicator is displayed.
-
-
Select the cooking zone and press
or
until the power level indicator appears
.
-
After 10 seconds the residual heat indicator is displayed.
-
Note: The last selected cooking zone remains activated. You can program the cooking zone without having to select it again.
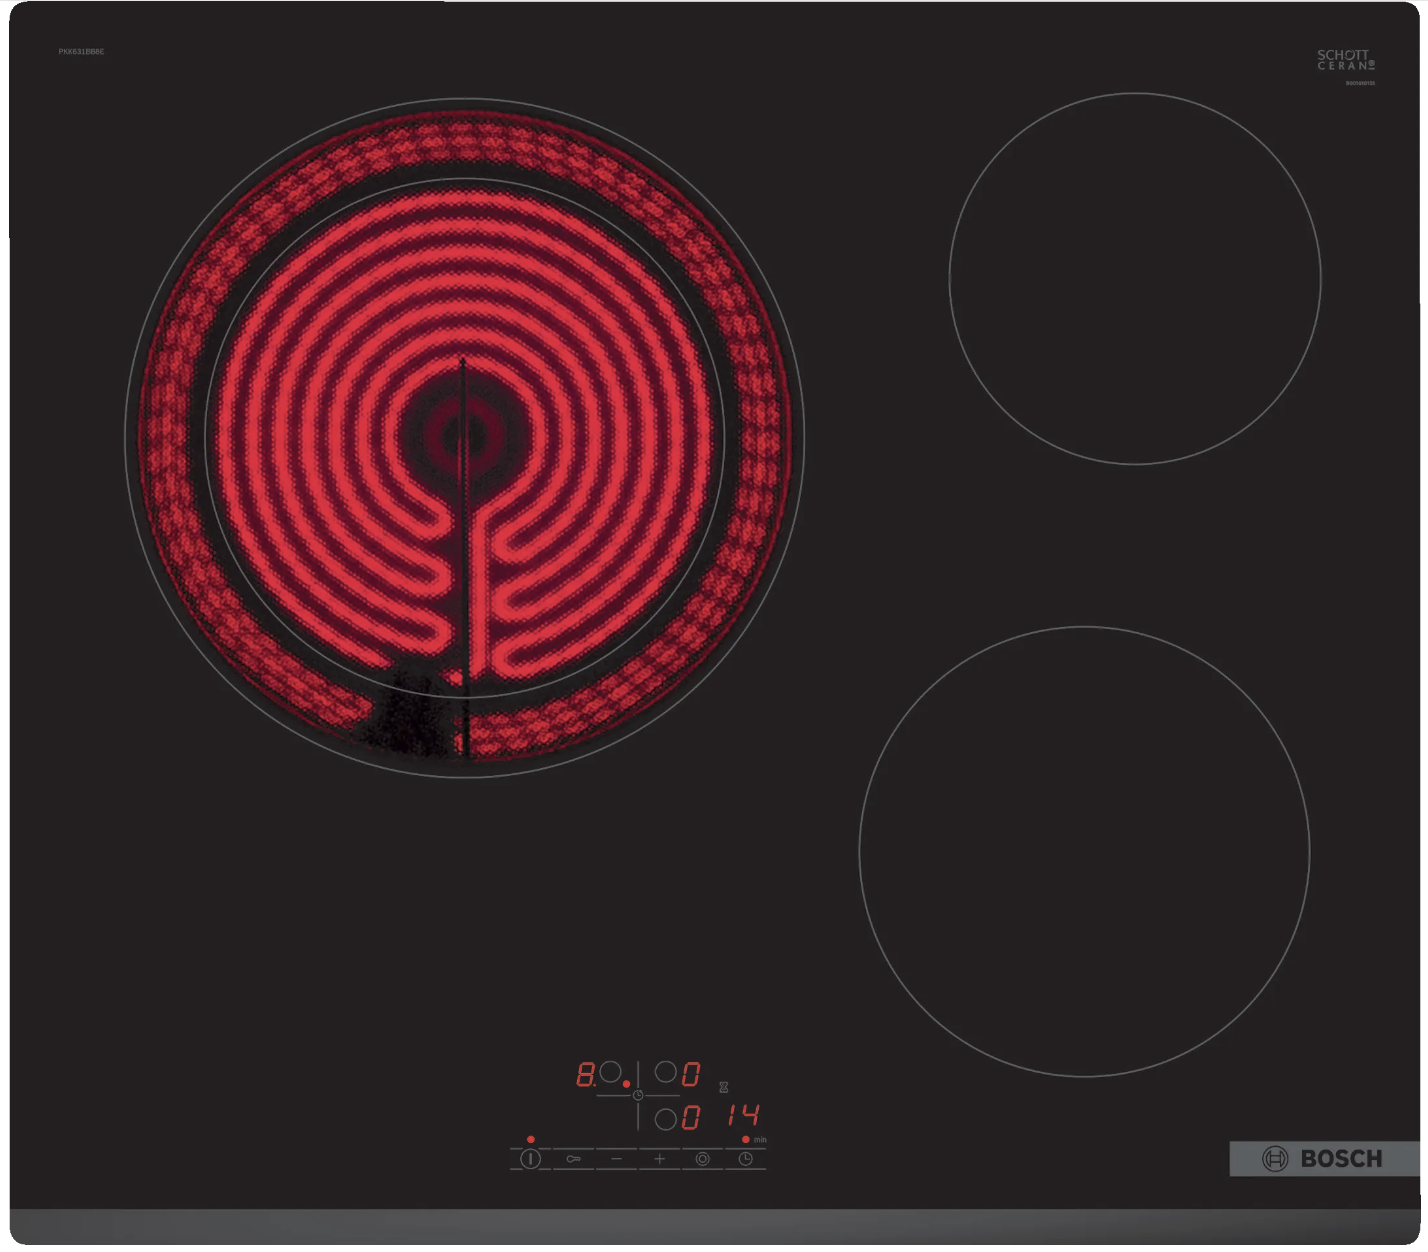
Control panel
Using the control panel, all device functions can be set and information about the operating status can be received.

Indicators
Indicators indicate functions and programmed values.
>
|
Indicator |
Name |
|---|---|
|
|
power levels |
|
|
waste heat |
|
|
timer clock |
Touch fields
Tactile fields are touch-sensitive surfaces. To select a function, press the corresponding field.
>
|
touch field |
Name |
|---|---|
|
|
Main switch |
|
|
Select the cooking zone |
|
|
child insurance |
|
|
Adjustment keys |
|
|
Activation of the zones |
|
|
timer clock |
Residual heat indicator
The cooktop features a two-stage residual heat indicator on each cooking zone. Do not touch the cooking zone while the residual heat indicator is on.
>
|
Indicator |
Meaning |
|---|---|
 |
The cooking zone retains heat so you can keep small dishes warm, or melt a chocolate coating. |
 |
The cooking zone is very hot. |
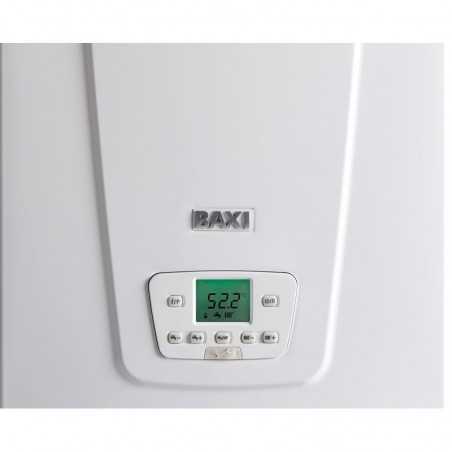
The boiler is situated in the far corner of the kitchen in the upper cupboard.
- The boiler will need switching on – it’s the far switch on the wall at the side of the microwave towards the back wall, then press/hold down the power button on the front of the boiler until the LED display comes on.
- The control panel allows quick and easy access to the main boiler functions. Its backlit screen shows the status of the boiler at all times. Press button 3 (Tap/Radiator symbol) to toggle through either HOT WATER, HEATING or BOTH.
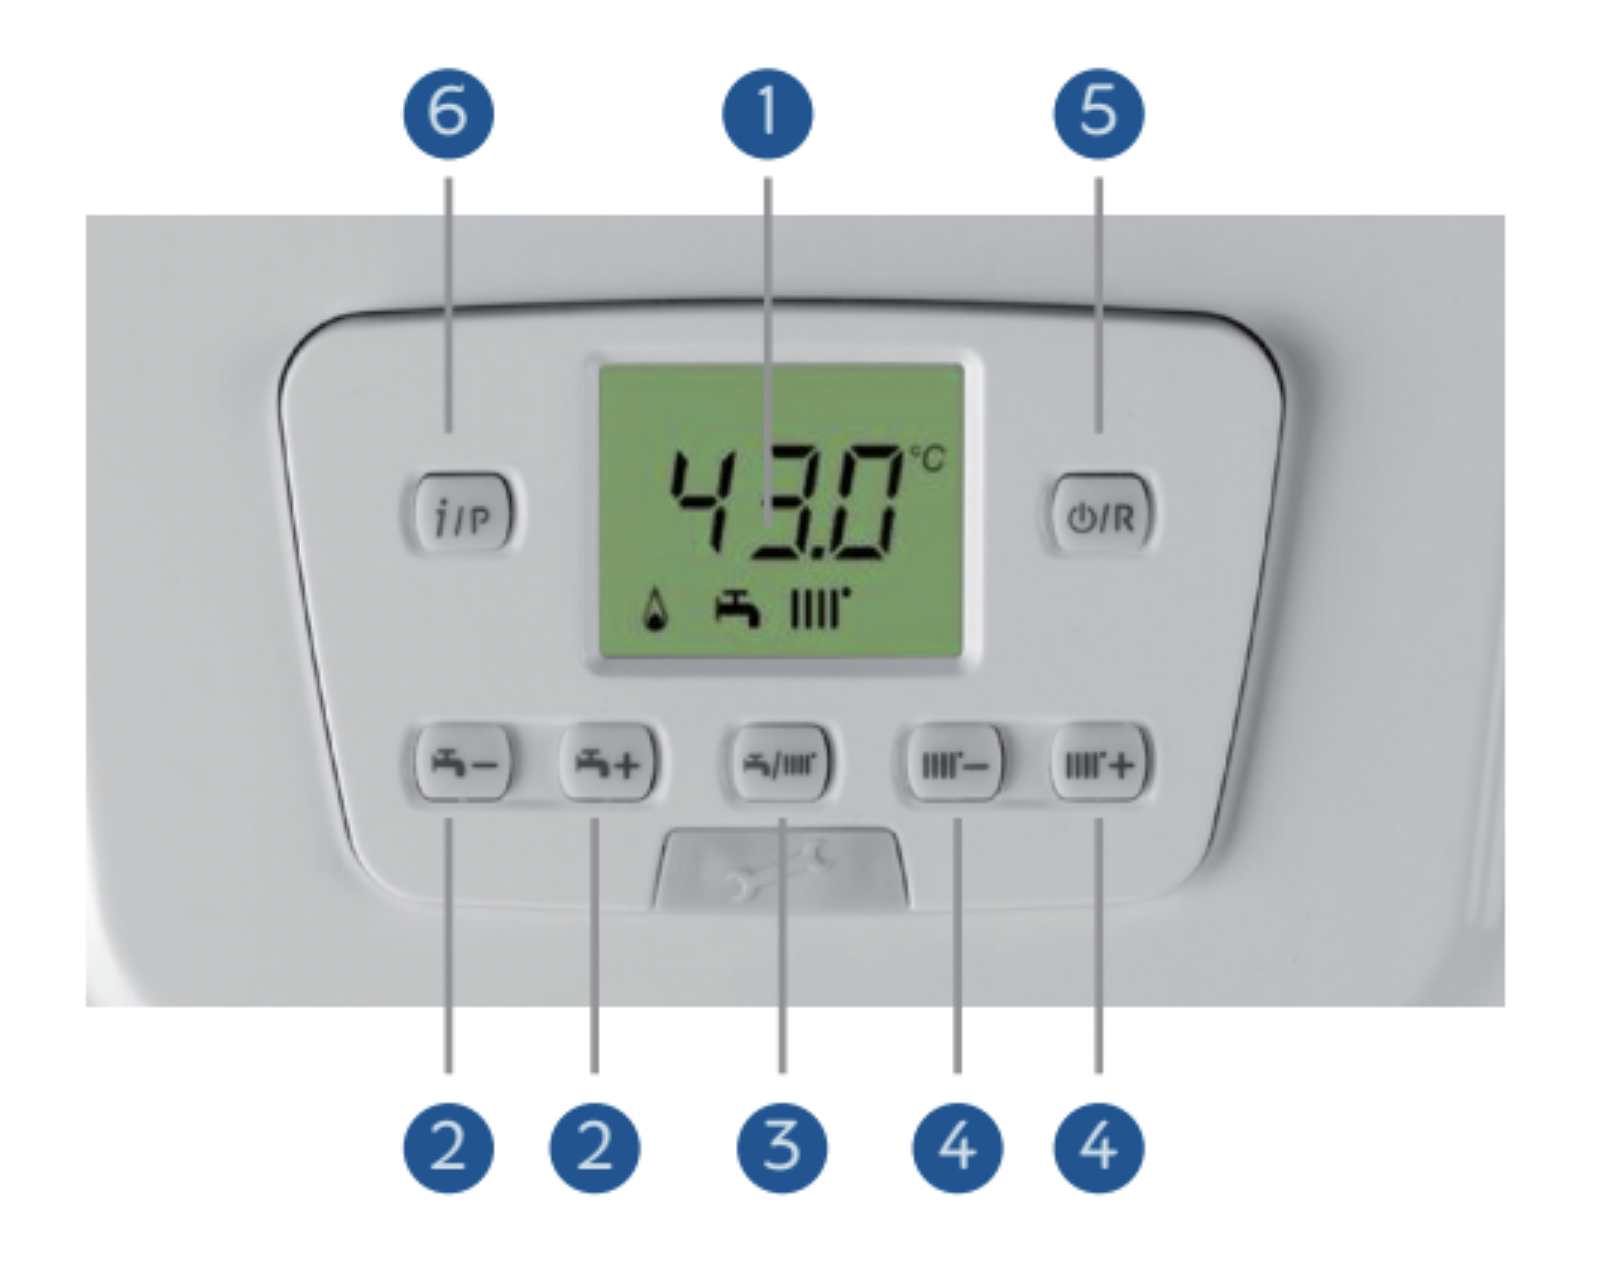
1. Multifunction display
2. Selection of water temperature
3. Selection service – toggle between WATER; WATER/HEATING; HEATING
4. Heating temperature selection
5. ON/OFF/Reset
6. Information / Programming
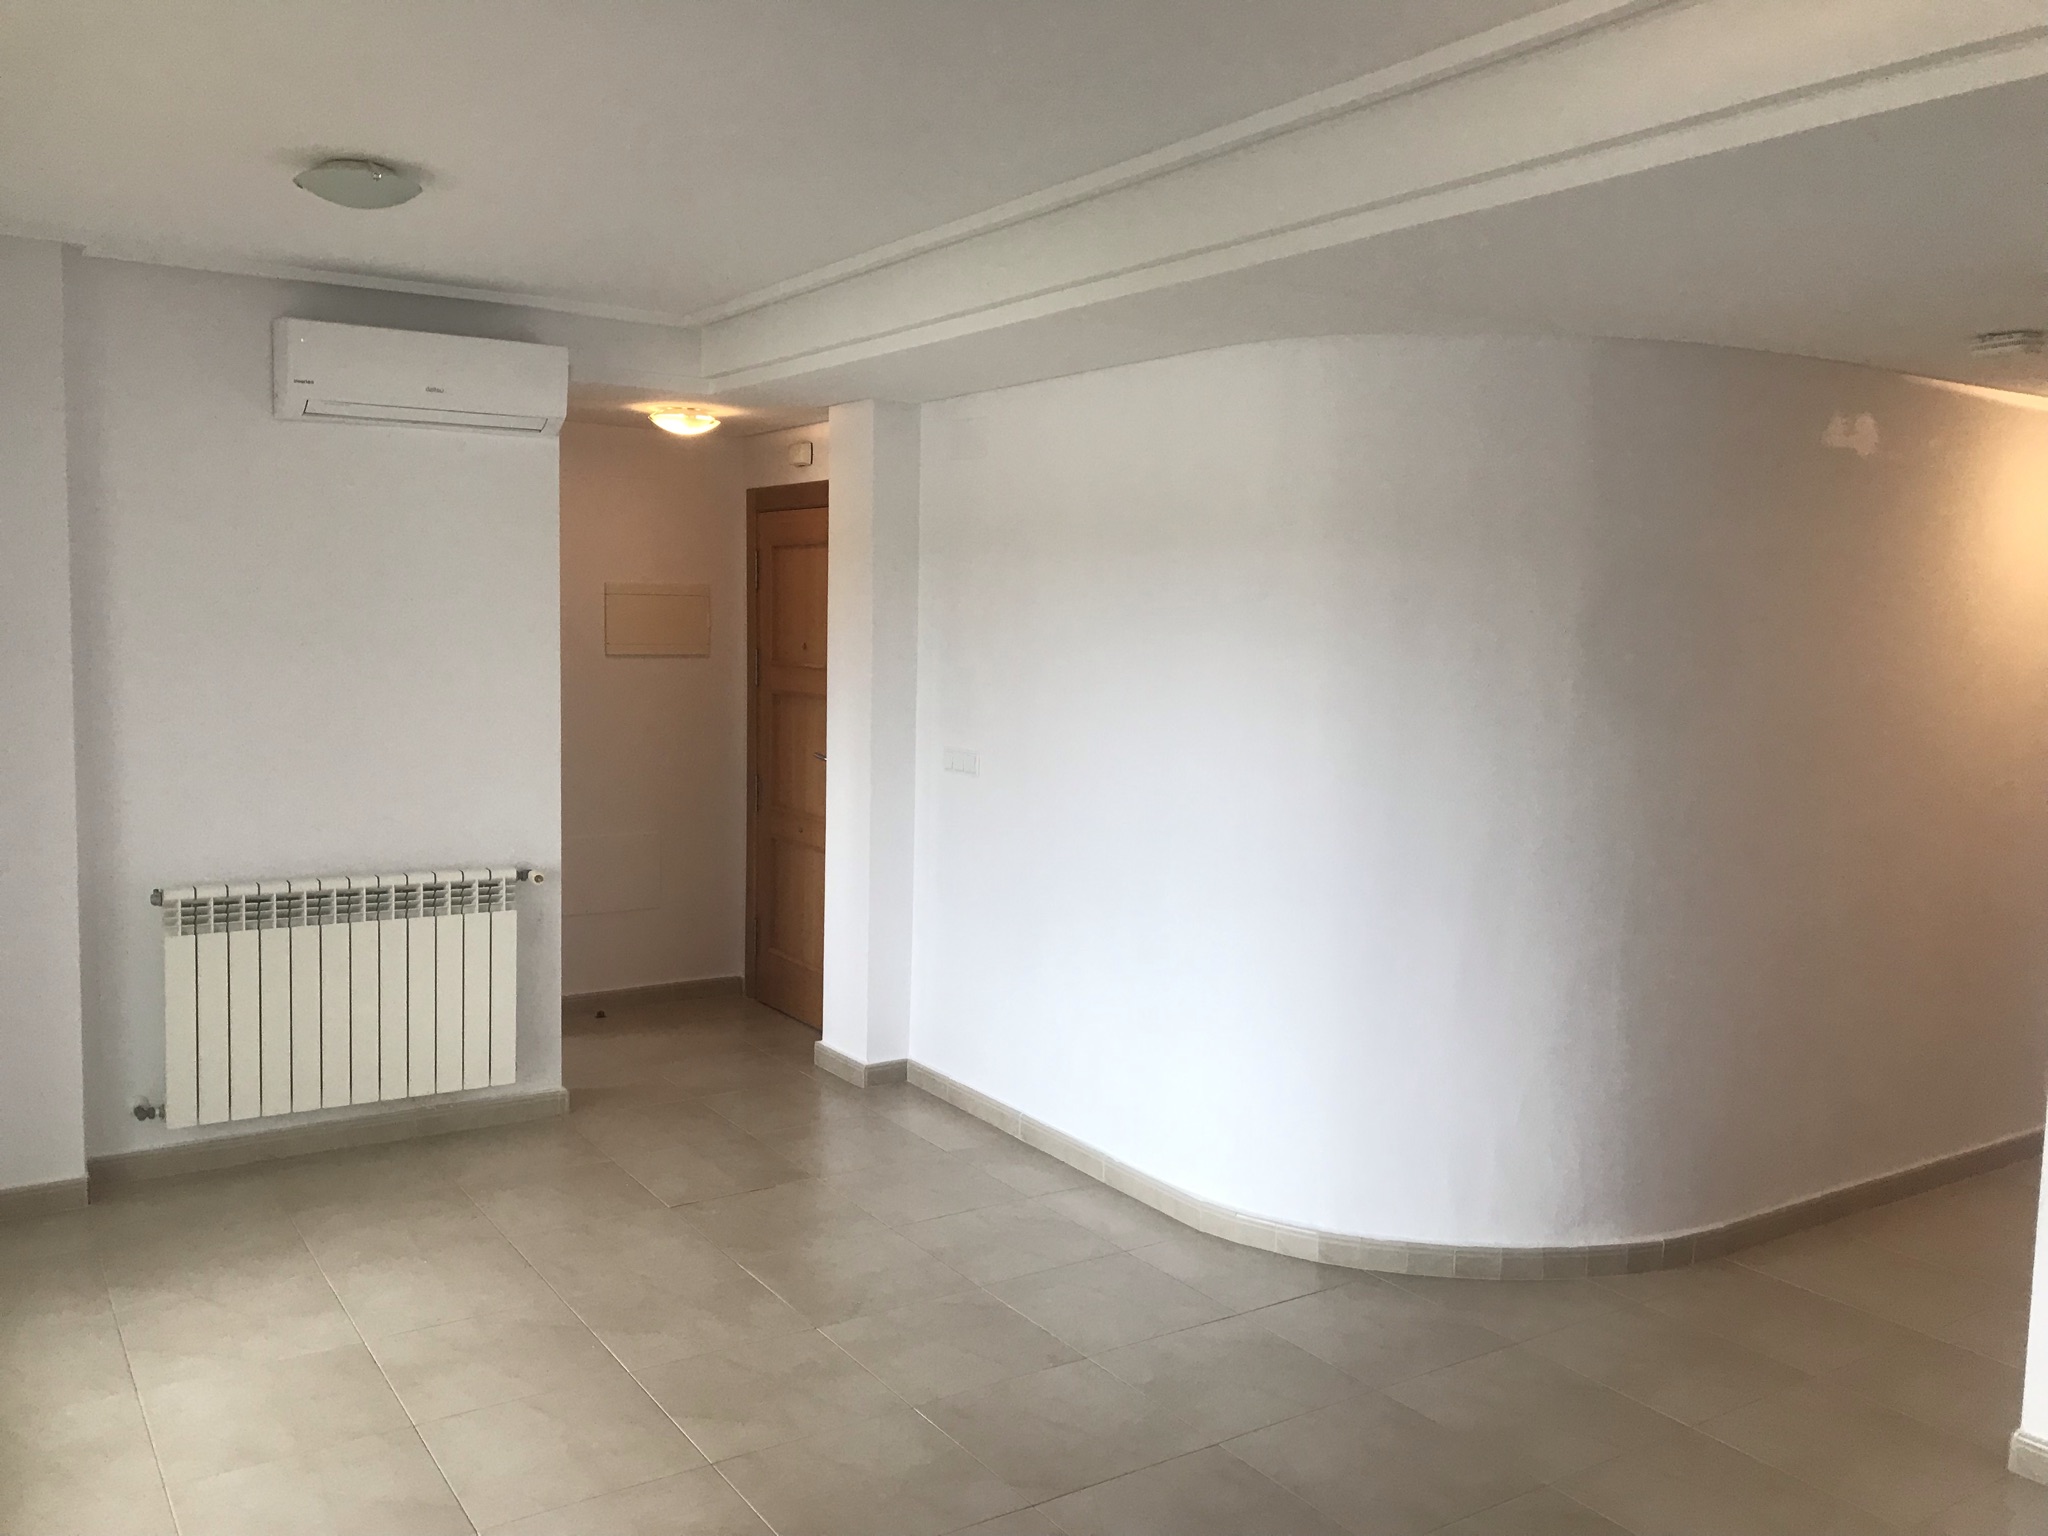
Living Room
The living room unit is set to the lowest setting (16 DEG). Simply point the remote towards the unit, press the power button and it will turn on to cool the room. Please do not adjust the temperature if it is cold – use the central heating instead. The remote control is above the cabinet by the entrance in a remote control holder.
Bedrooms
The bedroom unit are set to the lowest setting (16 DEG). Simply point the remote towards the unit, press the power button and it will turn on to cool the room. Please do not adjust the temperature if it is cold – use the central heating instead. The remote controls for the units are in the bedrooms (Double – by the door, above the light switch; Twin – between the headboards in the remote holder).
Note: As both Air Conditioning units in the bedrooms are the same, the remote controllers work for both the units. Therefore, please be careful that you don’t turn the wrong unit on without realising if both bedroom doors are open – it’s been done before!!!

Living Room
Info about: How to use to follow
Bedrooms
Info about: How to use to follow
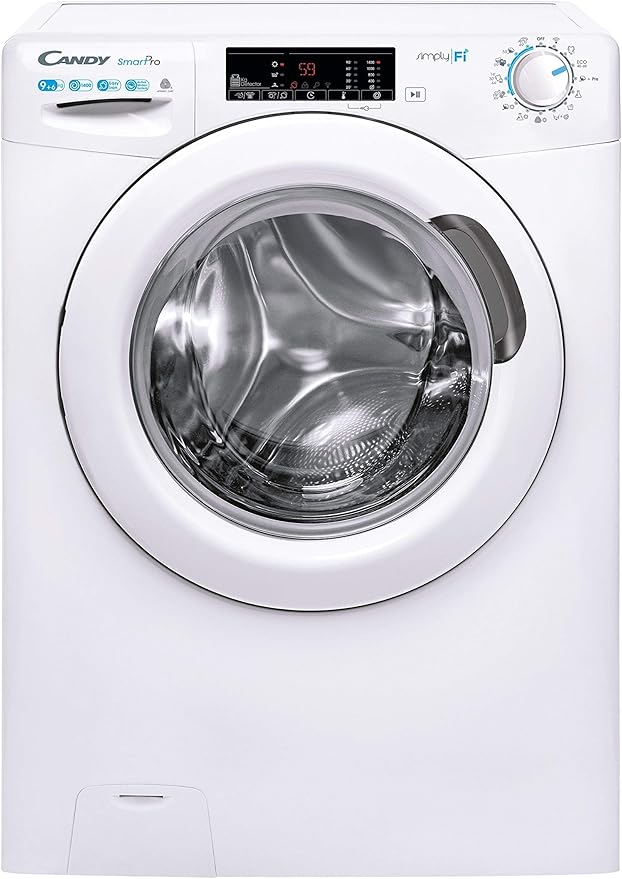
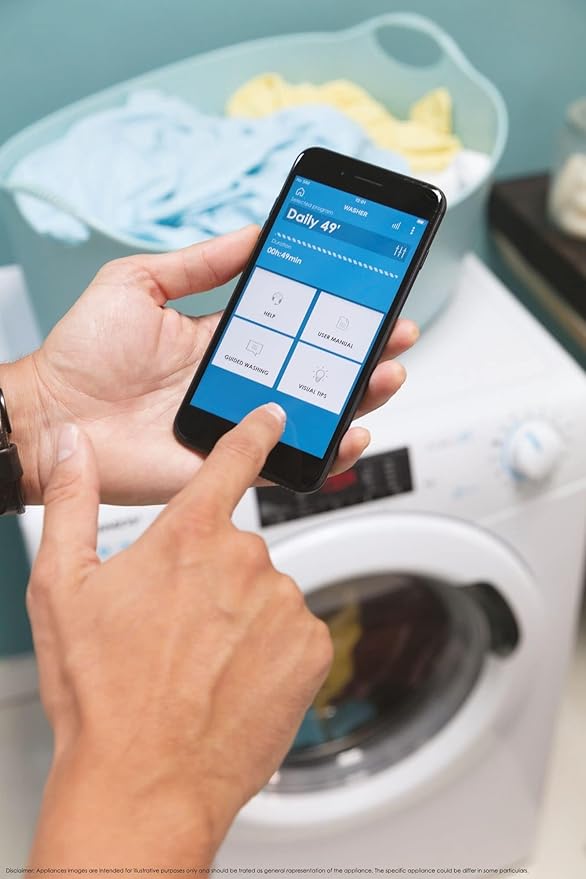
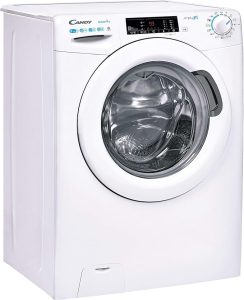 The laundry basket is located in the bathroom cupboard, we haven’t managed to purchase a washing basket yet (looking for a collapsable one) so just use a shopping bag from the kitchen when your washing is ready to hang out to dry.
The airer is behind the kitchen door and the peg basket is in the bathroom cupboard.
There’s plenty of room on the back terrace to put the airer and usually sunny in the morning/nice breeze in the afternoon or alternatively, if doors are open front and back, a good place to dry clothes is outside the bedrooms with the through breeze.
BEWARE: It can be dusty on the back patio so be careful of dropping washing or it falling off the airer if windy and not pegged securely.
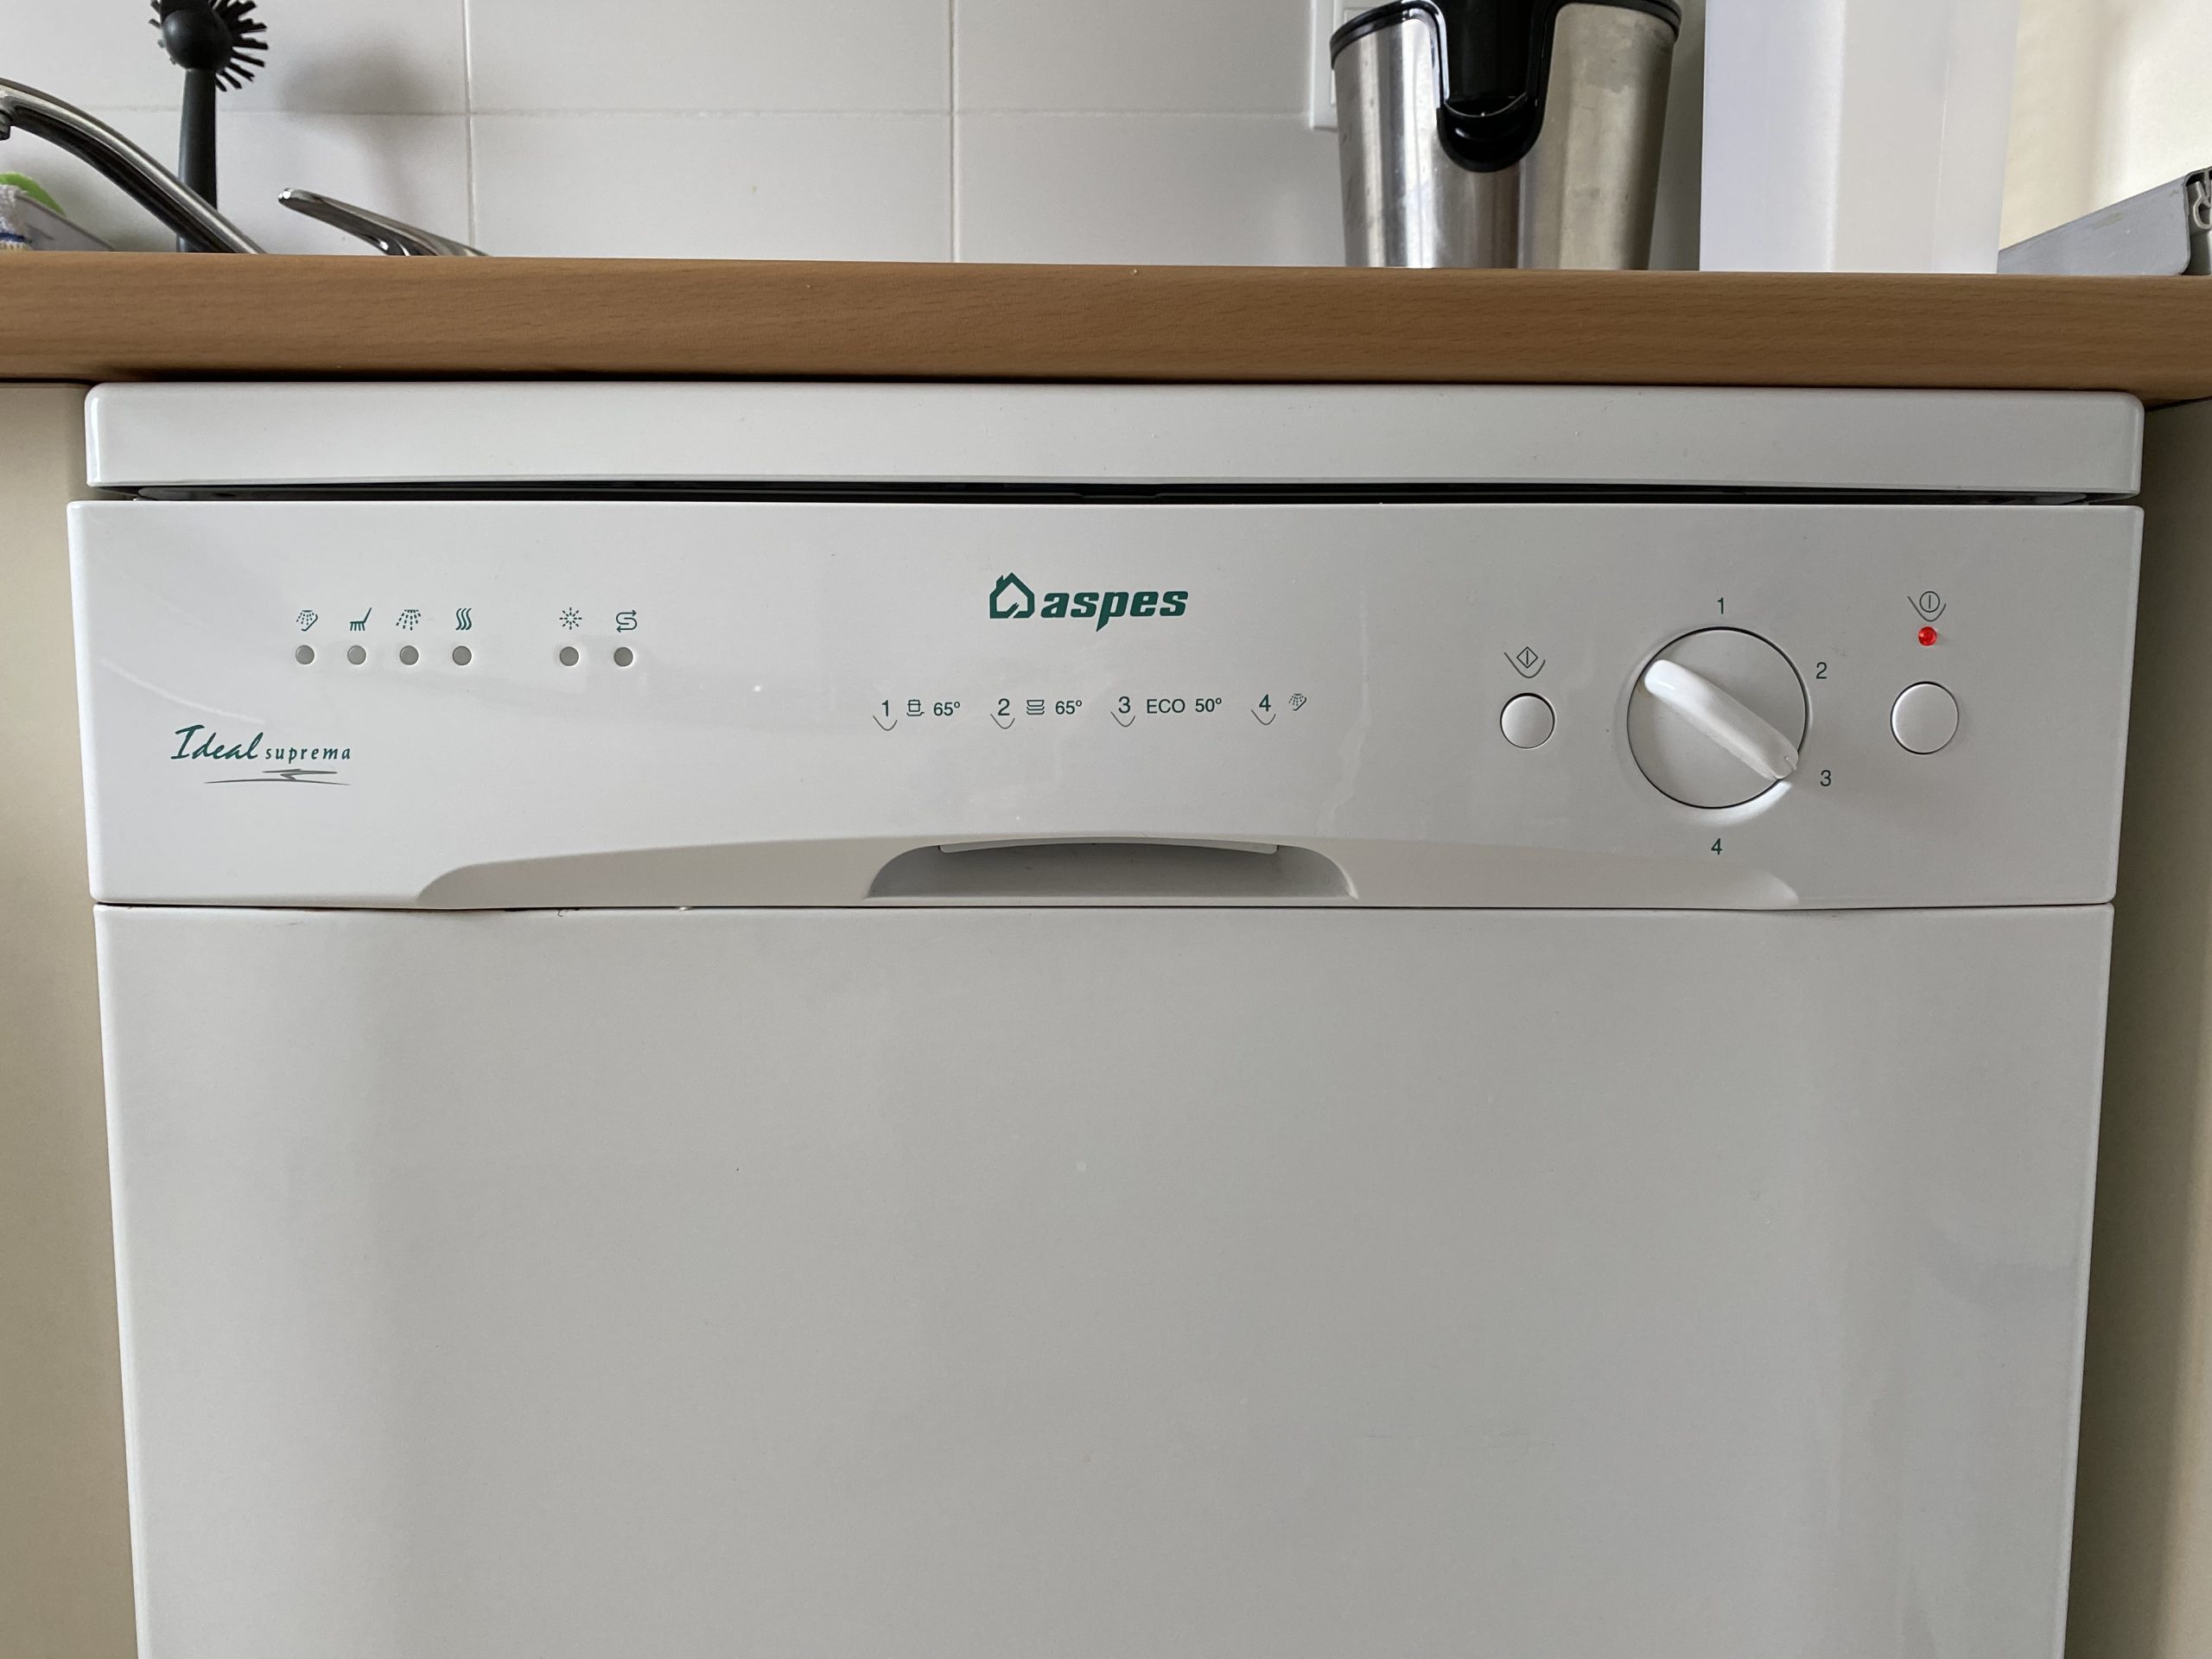
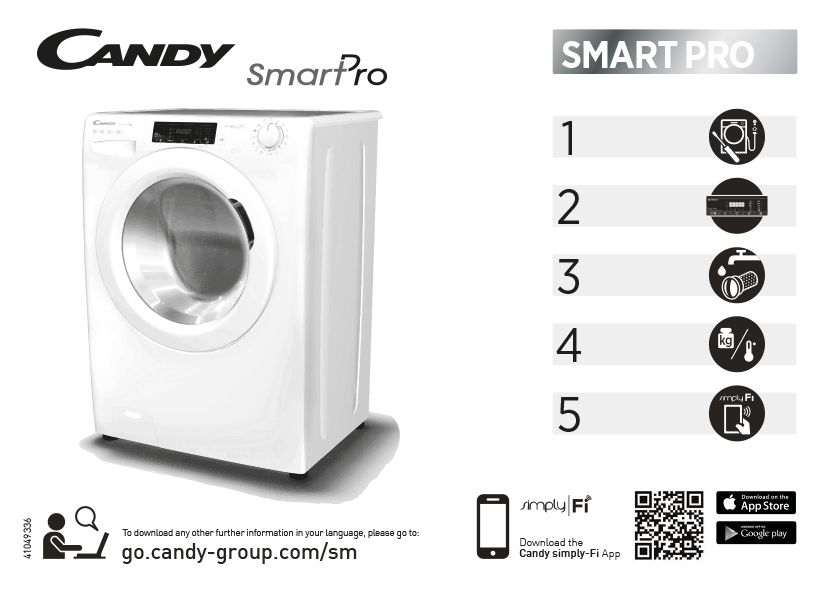
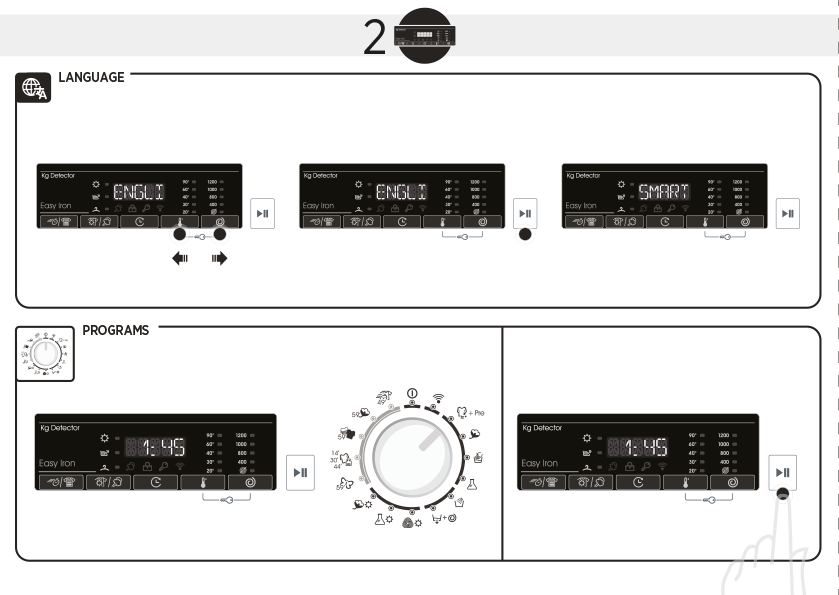
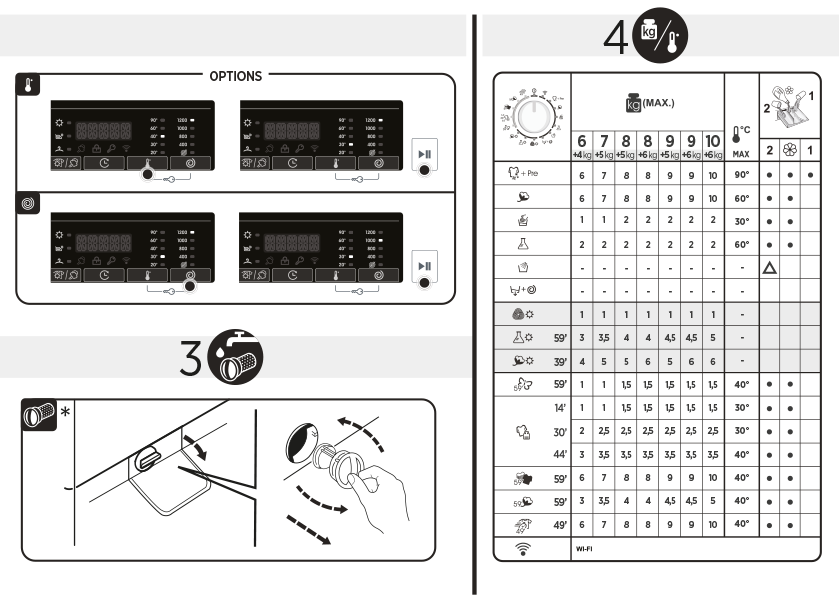
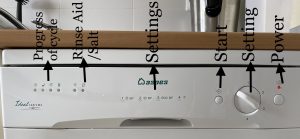
The Dishwasher is easy to use, see diagram above for setting instructions.
- Turn the Power button on
- Insert a tablet into the grey flip drawer on the inside of the door
- Move the setting knob by turning to the required number 1 to 4 (quick reference information is shown on the front of the dishwasher to help you with regards to temperature/light or heavy clean etc)
- Press the start button.
If it needs salt this is added to the floor of the dishwasher there is a cog cap to turn and a funnel in the cupboard to pour the salt into the hole. Rinse aid is added next to the dishwasher tablet in the front door just turn the cap and it will come away so you can pour the rinse aid in then replace the cap before pressing start.
The tablets, salt, rinse aid and funnel are all located in the cupboard under the sink.
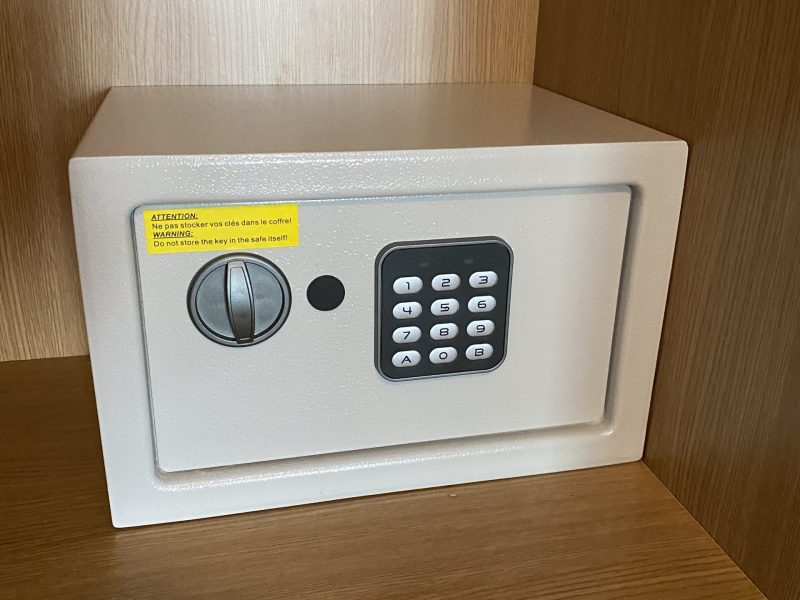
The safety deposit box is available for anyone to use, to store passports, money and jewellry. Please ask us for the location and access code.
It is big enough to hold an A5 travel pouch laid flat inside and there is plenty of room height wise to store your belongings including ipads, phones and small cameras too.
If you forget the access code there is an override key just ask us.
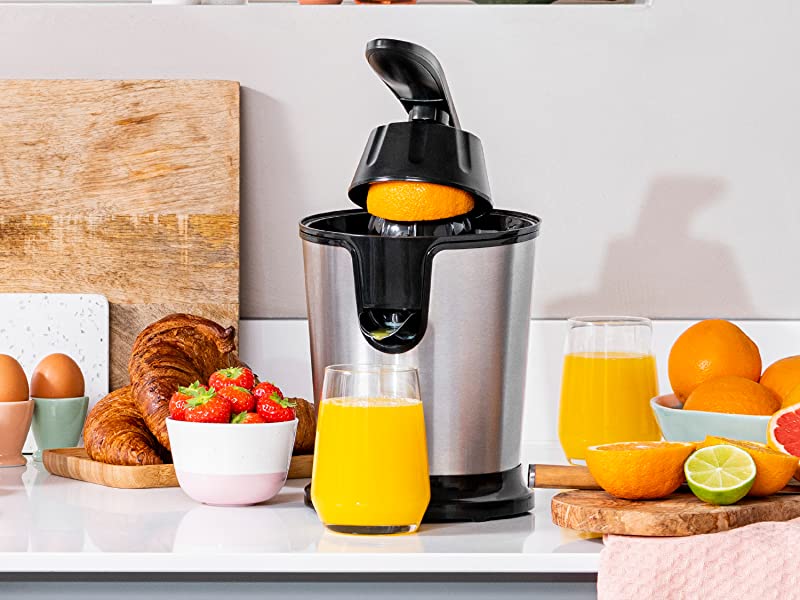
With a powerful 85 W motor and its comfortable pressing lever, squeezing oranges, limes and lemons will be very easy, exerting much less pressure, but easily extracting all the juice.
Start the day by speeding up the metabolism
Prepare yourself a delicious and healthy juice in no time. Nothing better than a natural juice to start the day. Guaranteed vitamins without added sugars! Prepare yours with the Tristar juicer and get a healthy juice just the way you like it, whatever your favourite citrus fruit is. Lemons, grapefruit, oranges or limes, you decide.
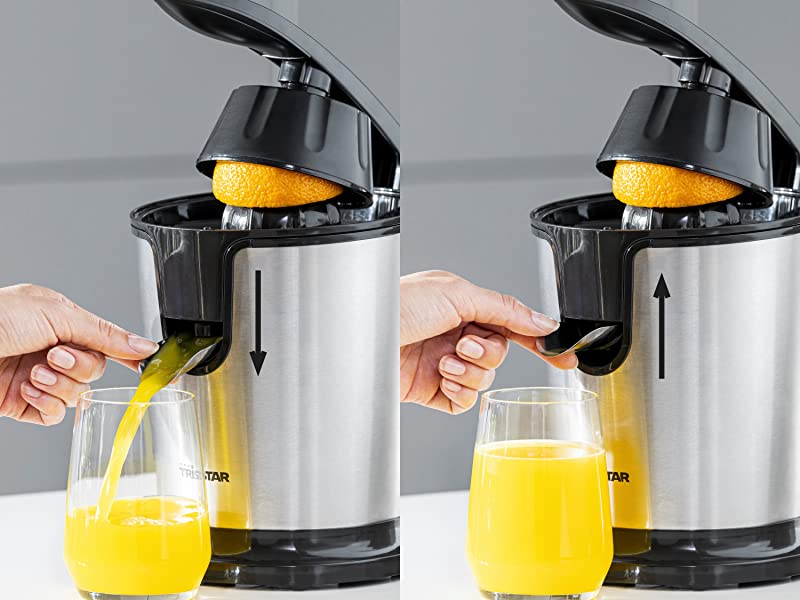
Anti-drip system
Choose to have the juice come out directly or store the juice in the tank.
You can squeeze directly into the glass by placing it under the juice outlet. However, thanks to the anti-drip system, it waits until all the citrus is squeezed and then pours it into the glass. Raise the spout to protect your countertop from hard-to-clean sugary residue.
The pressing lever will help you press down on the citrus, so you will have to use much less force.
With stainless steel housing
2 pressing cones. This electric juicer is suitable for all types of citrus thanks to the two different size pressing cones that rotate left and right, it squeezes everything from grapefruits to limes.
TOP TIP: When washing up, please watch out for the little rubber seal, as it’s prone to falling off and is not easy to find

TASSIMO Happy is very easy to use.
-
To make a cup of coffee with your Happy coffee machine, make sure it’s clean and plugged in.
-
Place a mug, cup or coffee glass on the cup stand.
-
Open the head of the coffee machine.
-
Insert a T DISC (the official TASSIMO coffee pods) of your choice with the barcode facing down.
-
Close the head again and press the button. Your TASSIMO Happy will recognize the barcode and serve your coffee, tea or hot chocolate perfectly. Enjoy!
The capsules are in the unit/drawer under the coffee maker, help yourself but let us know if we need to order some more capsules, as they’re only available from Amazon.es
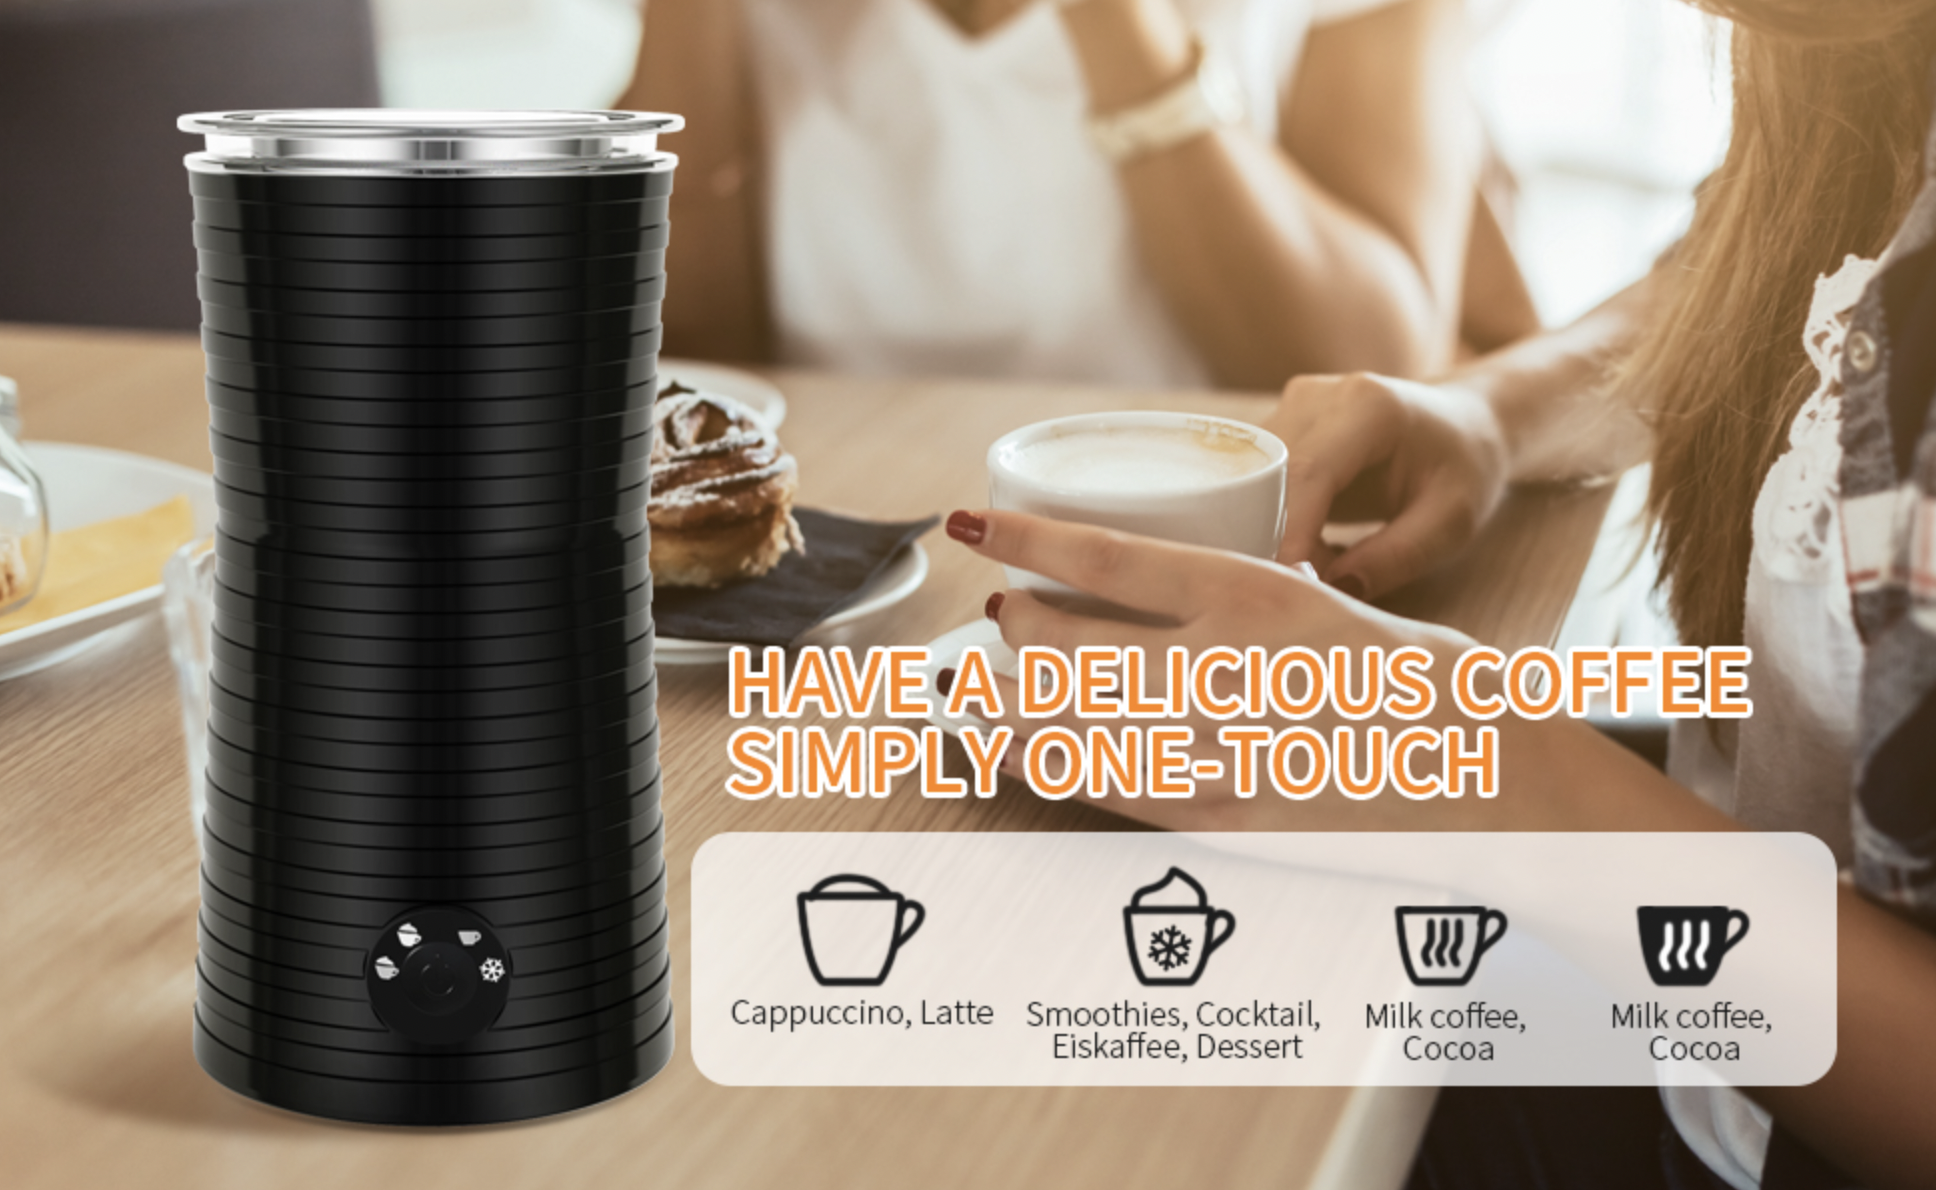
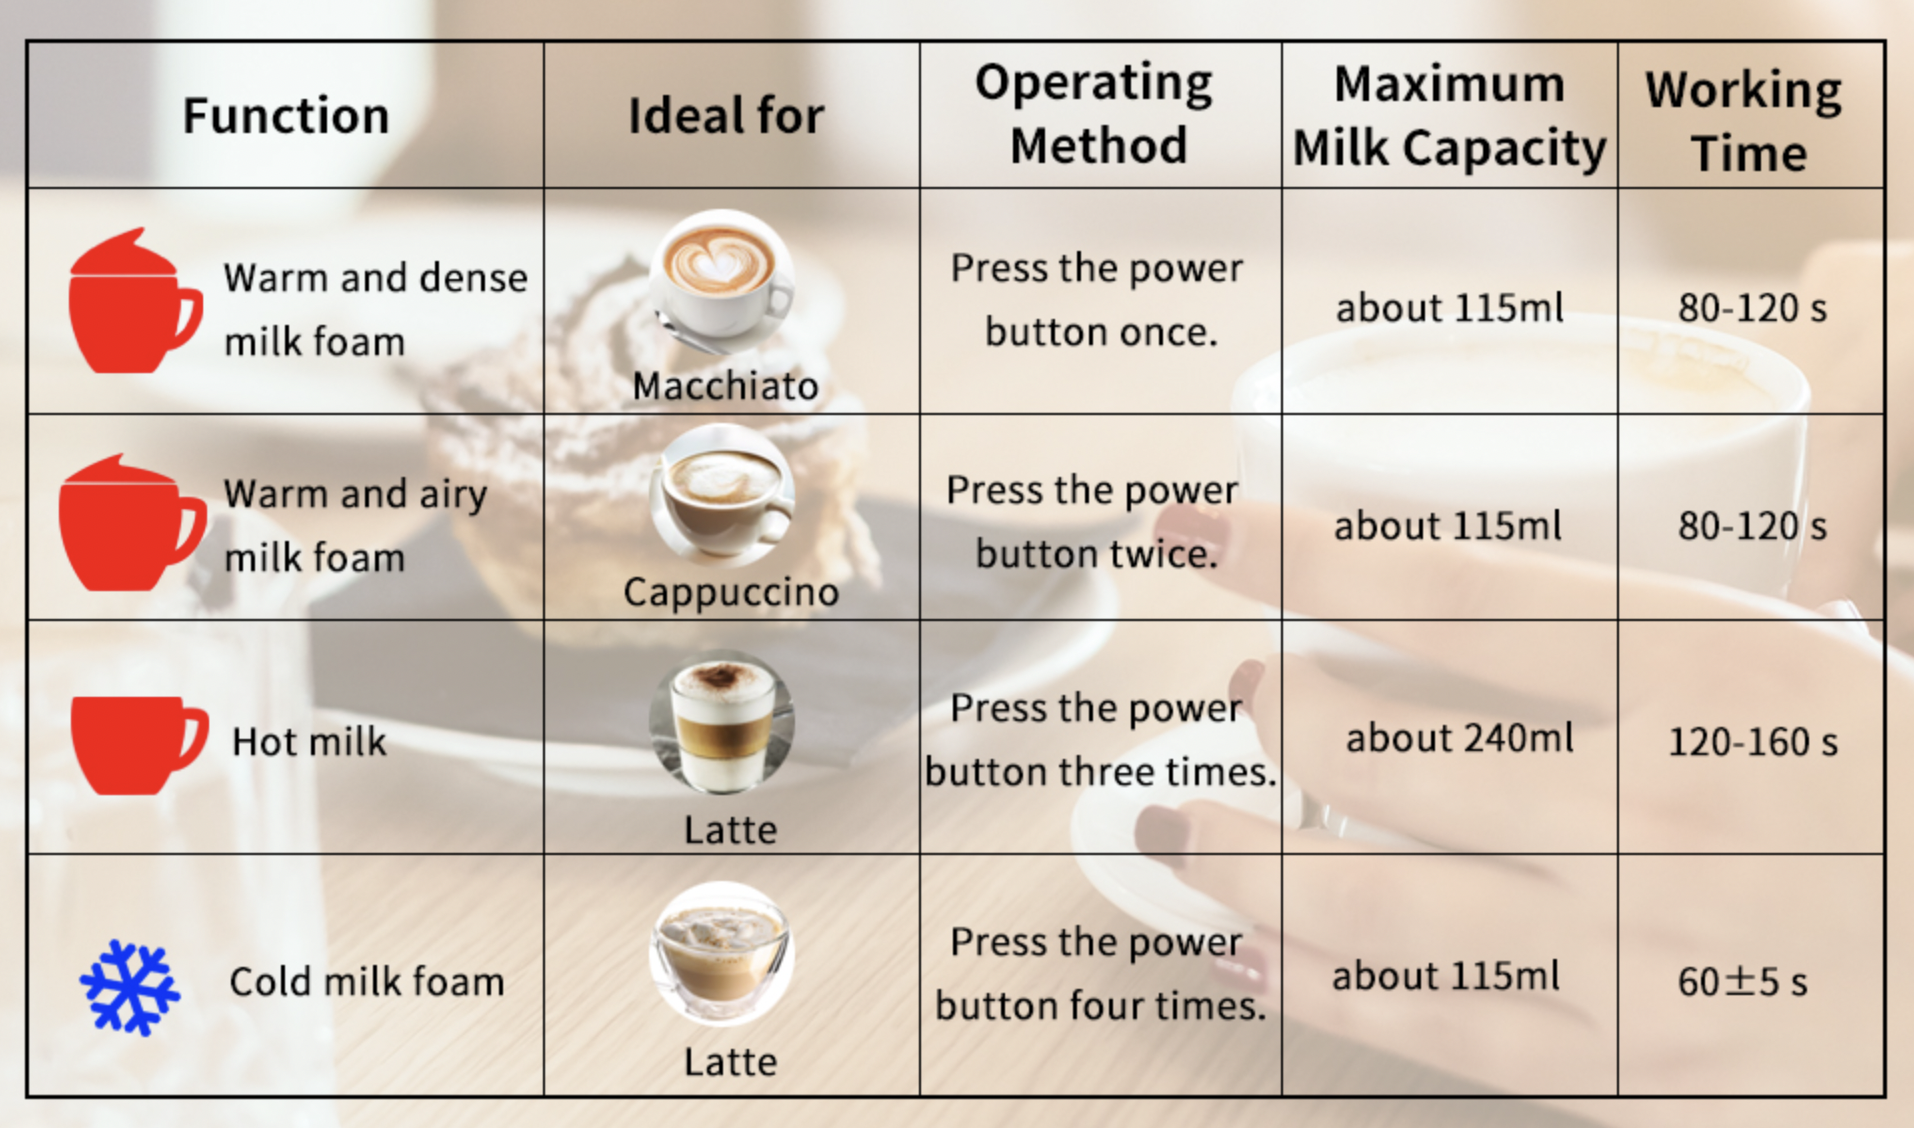
Enjoy a cup of your perfect coffee using the Electric Milk Frother in just 2 minutes!
A single button with 4 functions to satisfy your different tastes. Simpler, easier and faster. Your best choice to make perfect coffee at home.
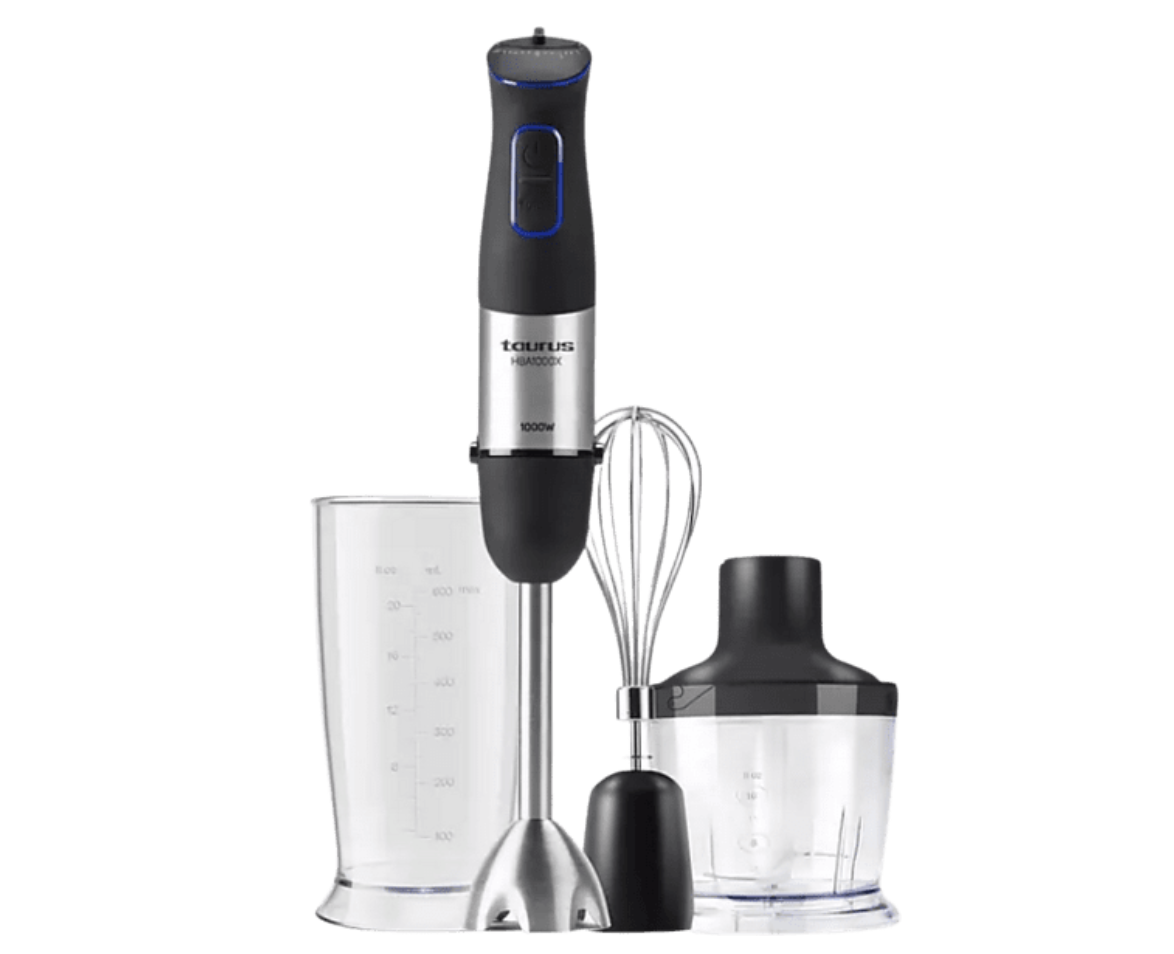
Mix homogeneously and instantly with the HBA1000X hand mixer, with 1000W of power and high-performance stainless steel blades for optimal results. With 20 speeds and Turbo function. Includes 600 ml measuring cup.
20 speeds
Adjust between its 20 speeds and get the perfect speed for each ingredient and recipe. In addition, it also has a Turbo function, which allows, at the touch of a button, to obtain the maximum power of the mixer, whatever the speed selected.
ergonomic mixer
The HBA1000X hand mixer features a hood exclusively designed to prevent splashing. Make sauces, shakes, creams and smoothies in its 600 ml measuring cup without dirtying the marble in your kitchen. In addition, its body and grip have been ergonomically designed, therefore, it has a soft-touch grip and click closure, which allows you to place and remove the rod with the press of a single button.
Measuring glass
Make sauces, shakes, creams and smoothies in its 600 ml measuring cup without dirtying the marble in your kitchen; chops nuts, meats, vegetables and spices in its chopper; and whip whites to the point of snow or make spongy doughs thanks to its emulsifier.
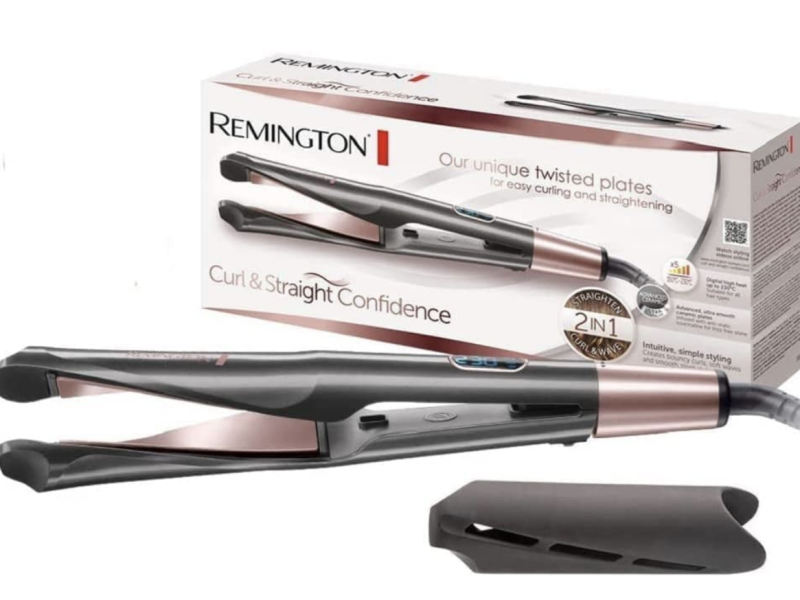
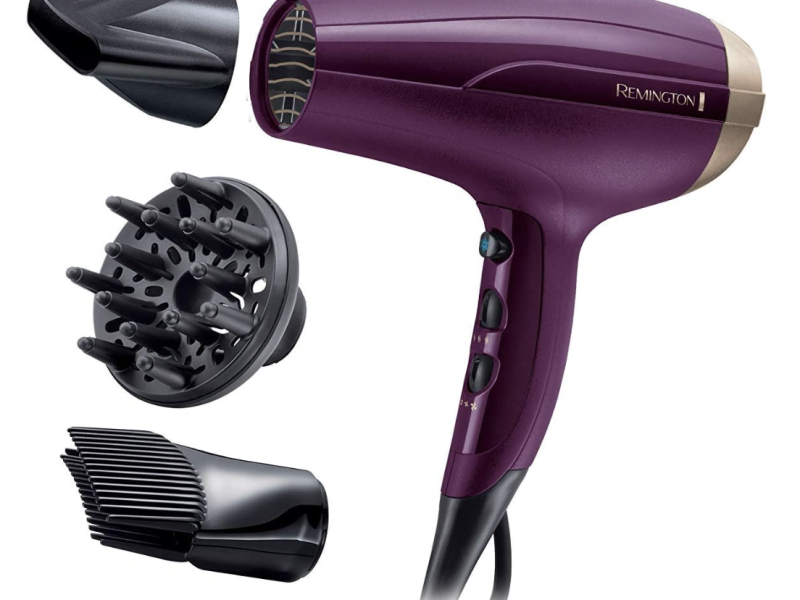
The hairdryer and straightners are located in the big plastic tub in the bottom of the bathroom cupboard. There are a few different attachments for the hairdryer and the straightners have a heat proof cover too.
You can plug them directly into a socket by the vanity unit in the main bedroom and if you lift the right side of the unit upwards there is a built in mirror or there is a free standing mirror on top of the unit. Alternatively, it might be easier to use the plug next to the full length mirror in the hallway.
Remington Hair Dryer
Remington Curl & Straight Confidence Hair Straightener
These 2-in-1 cold-tipped spiral plates easily straighten and curl hair – create bouncy curls, soft waves and straight hairstyles. Floating smooth ceramic tourmaline plates glide effortlessly, leaving hair frizz-free. Digital temperature control with 5 settings between 150 and 230 °C and memory function; fast heating, ready to use in 30 seconds.
